

Merry Christmas!!! I hope all of you are enjoying the season, and are spending time with your loved ones!
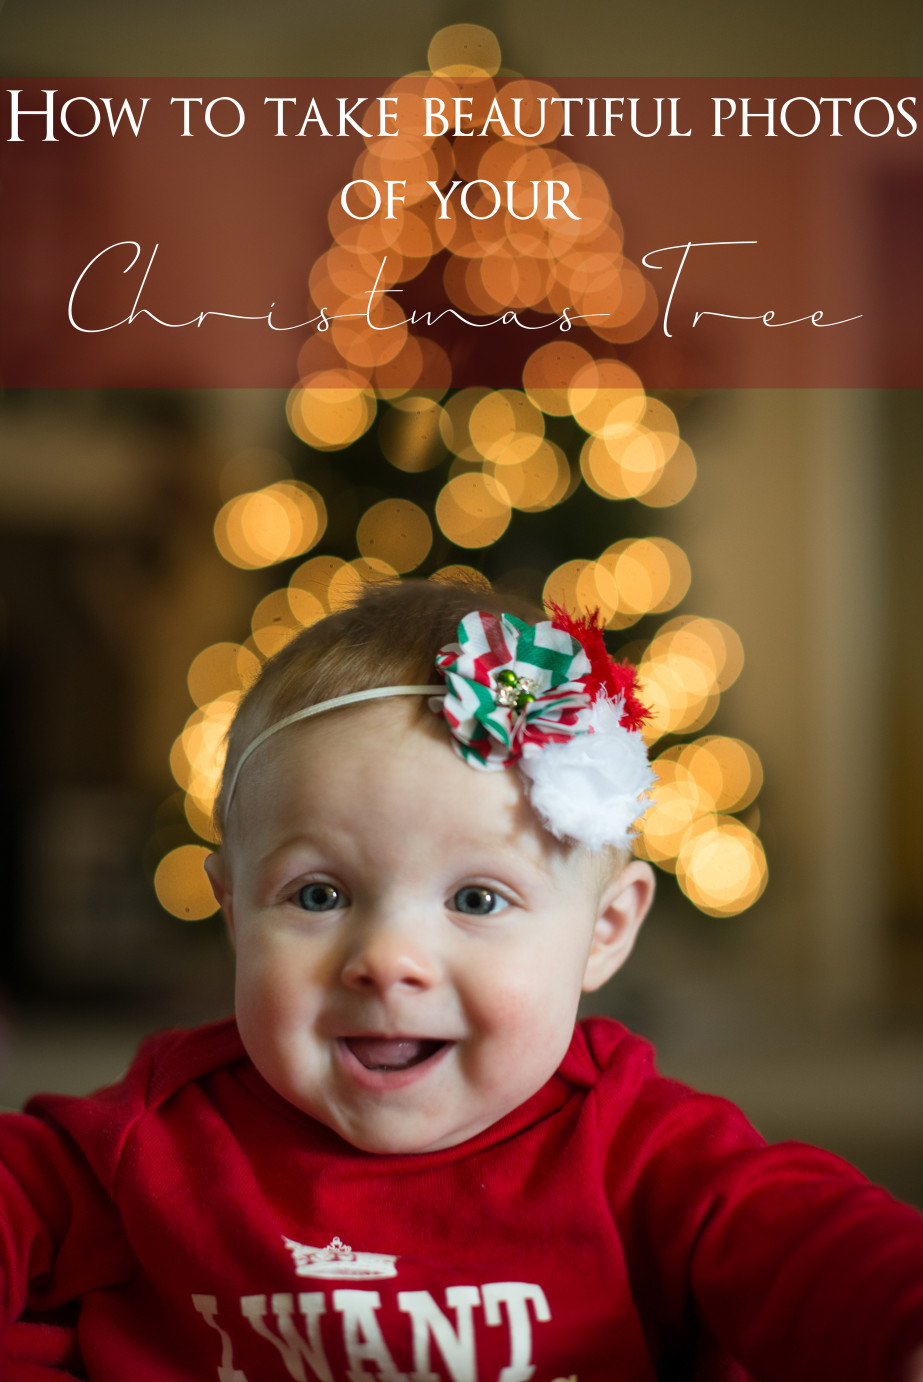
I wanted to make a festive post, and what better to talk about than how to take beautiful photos of your Christmas tree. everyone wants beautiful photos of their tree, whether it’s with their cameras, or with their phones and I wanted to give you some tips to make that happen.
You can take beautiful photos of your Christmas tree in more ways than one. One photo that I have seen all over Pinterest is the kiddos in front of the Christmas tree with the glow of the light, and it’s adorable. My baby doesn’t sit still long enough to get a shot like that unless she’s trying to rip off my ornaments so, let’s take a look at my perfect motionless models.
This first set of photos I made sure to turn off all the other lights in my house, except for the tv. I wanted the lights of the Christmas tree to be the main ambient light in the shot. I adjusted my camera to what I thought it might be….I used my 85mm because it was the first lens that I grabbed, though I would recommend a 35 or 50 depending if you’re shooting a full frame camera or a cropped sensor. Anyways…I adjusted my camera. ISO4000 f/2.0 with a shutter speed of 1/160. It was a tad too dark, you can see some blue light from the TV. I didn’t want to close down my aperture anymore, and my shutter speed was good, but I knew if I lowered my ISO, i’d get the result I wanted, and less noise! So the second image was ISO2500 f/2.0 1/160. Perfect. Also, with kiddos that don’t hold still, you don’t have to get out a tripod with a shutter speed like that. It will still keep the kiddos sharp. 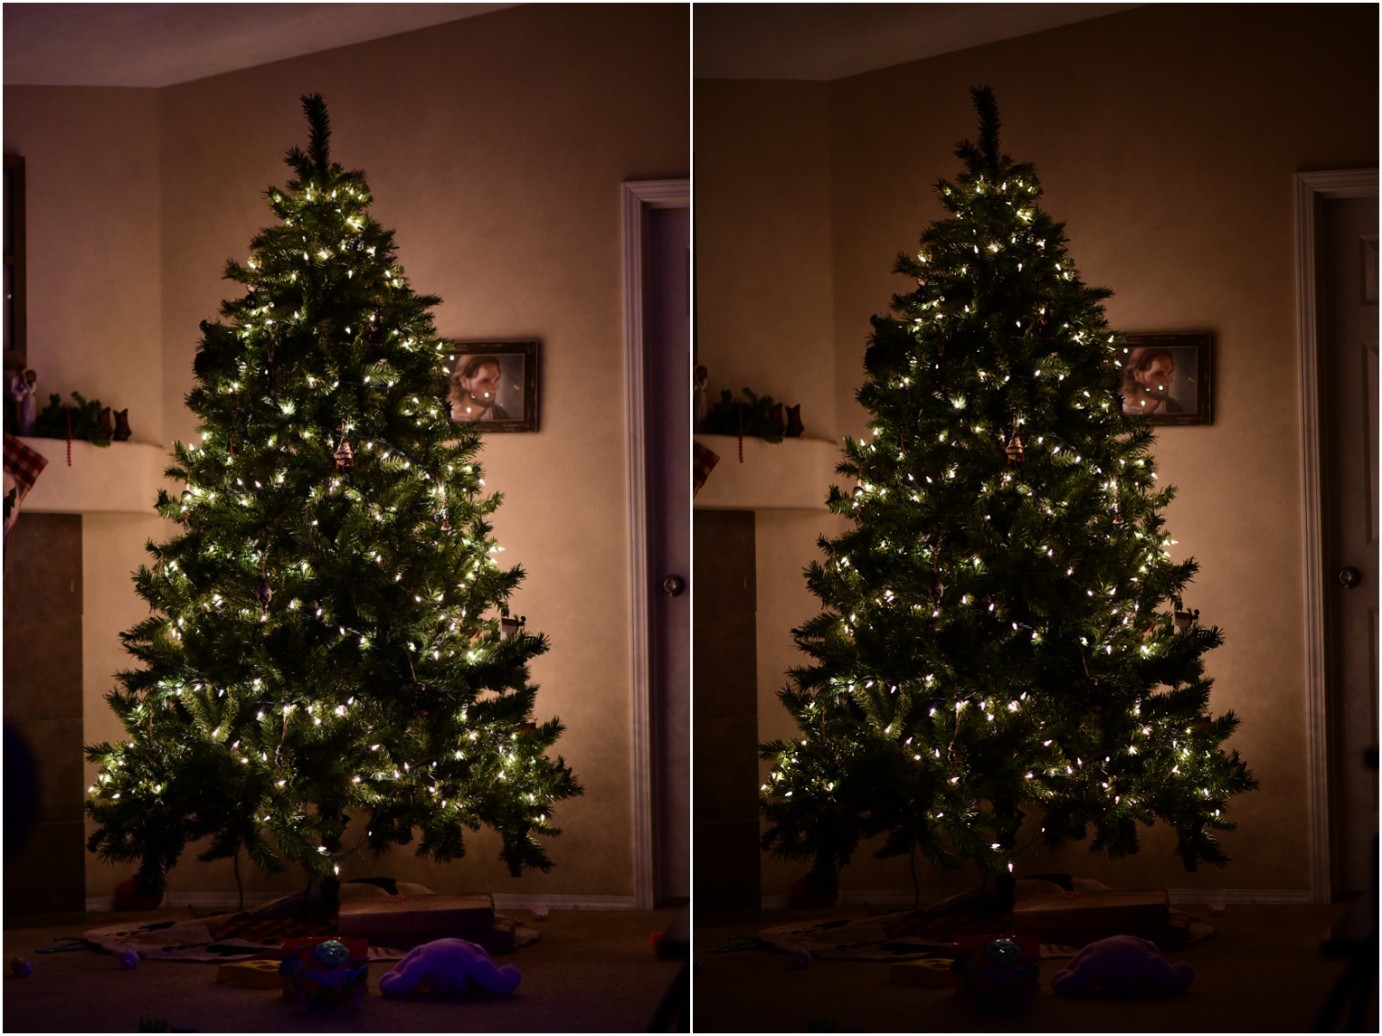
The next round of pictures is a little more creative. You can pull the kiddos away from the tree and just get them as a silhouette which makes for some cool photos with bokeh like this in the background, or just use the photo for a background for something (scrapbooking, etc.).
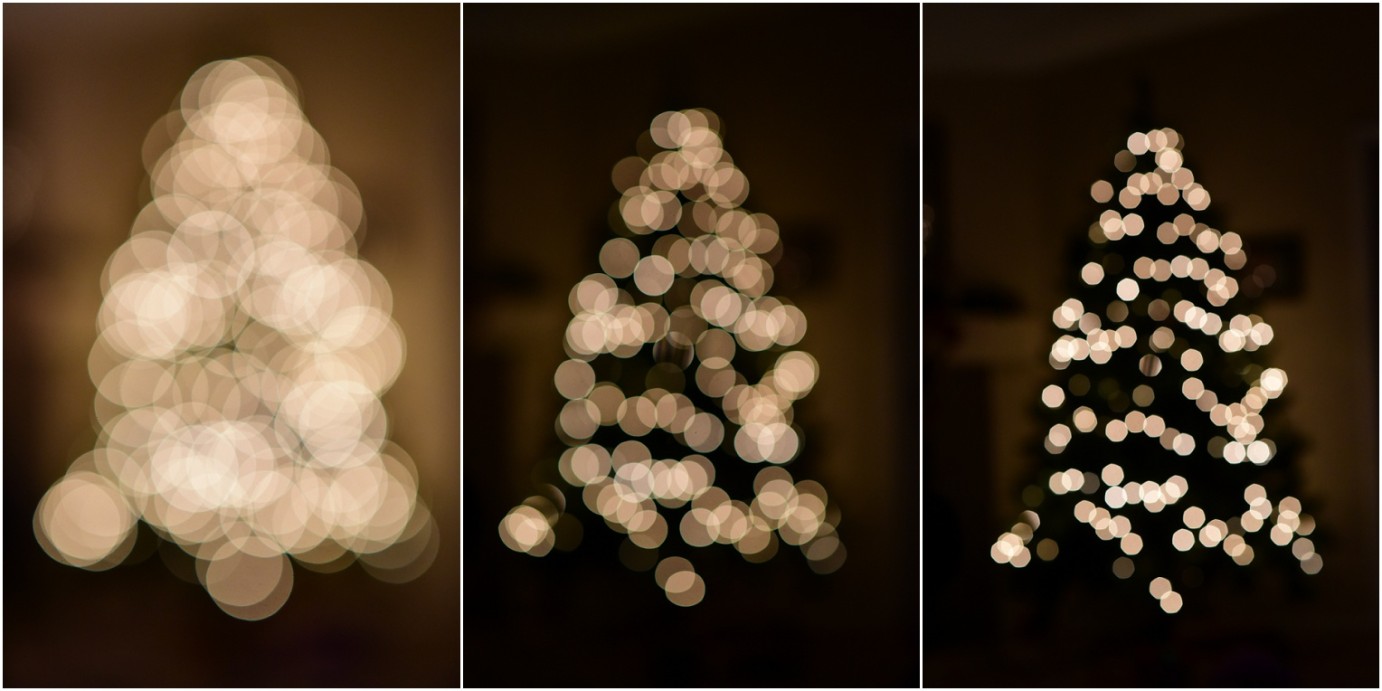 I manual focused each of these photos. The first I focused my 85mm at the minimum focal distance and got bokeh like that. I didn’t like that. The first two photos were at f/2.0 I just changed the focusing distance of my lense. Pretty cool stuff. The last photo I bumped my aperture to 3.5 and got less circular bokeh and more of a hexagon. COOOOOL huh! 🙂
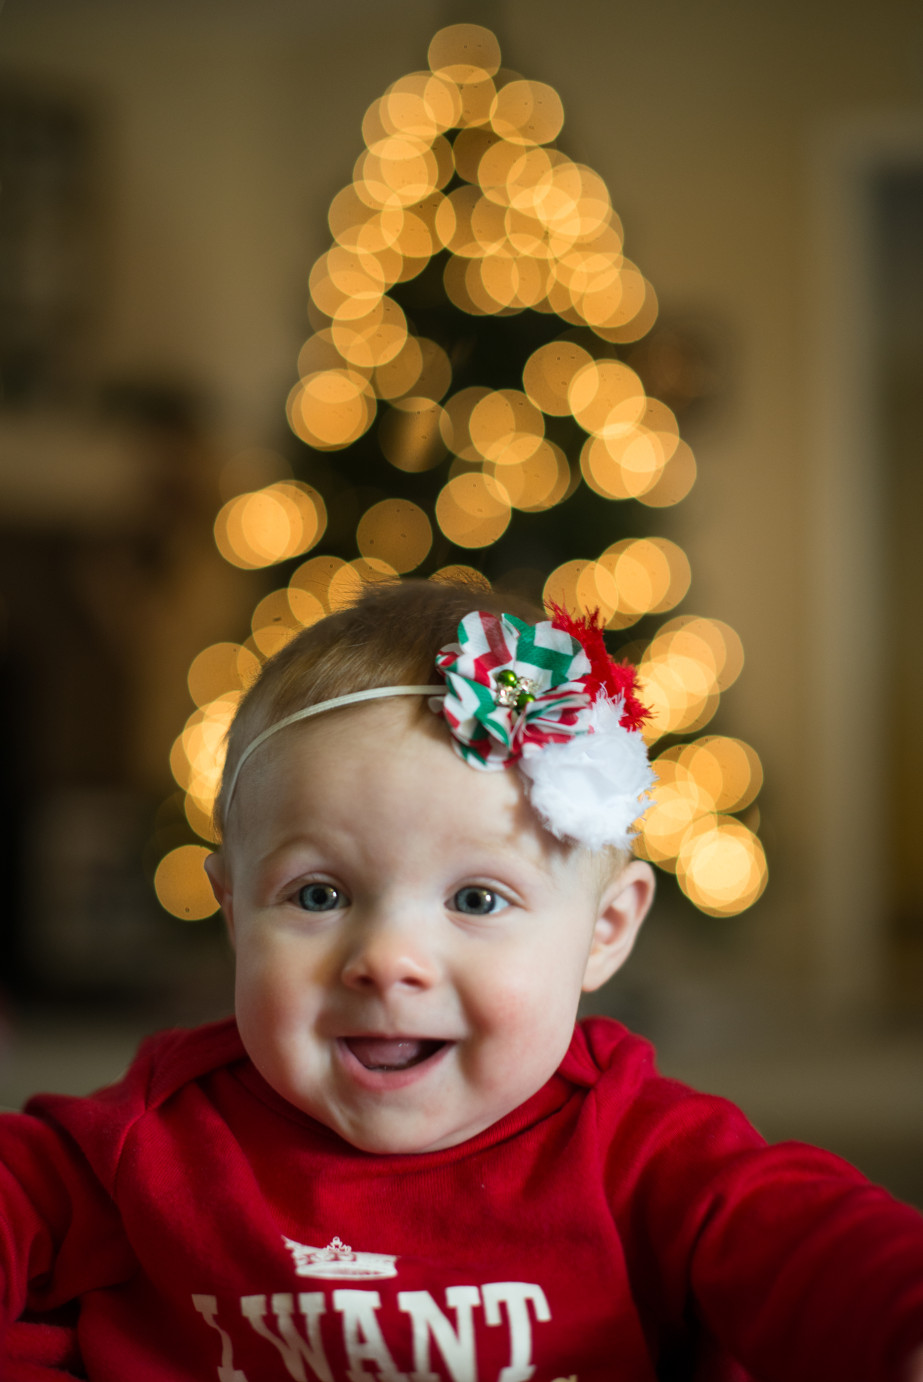
Here’s an old photo of my sweet baby in front of our tree last year! 😀
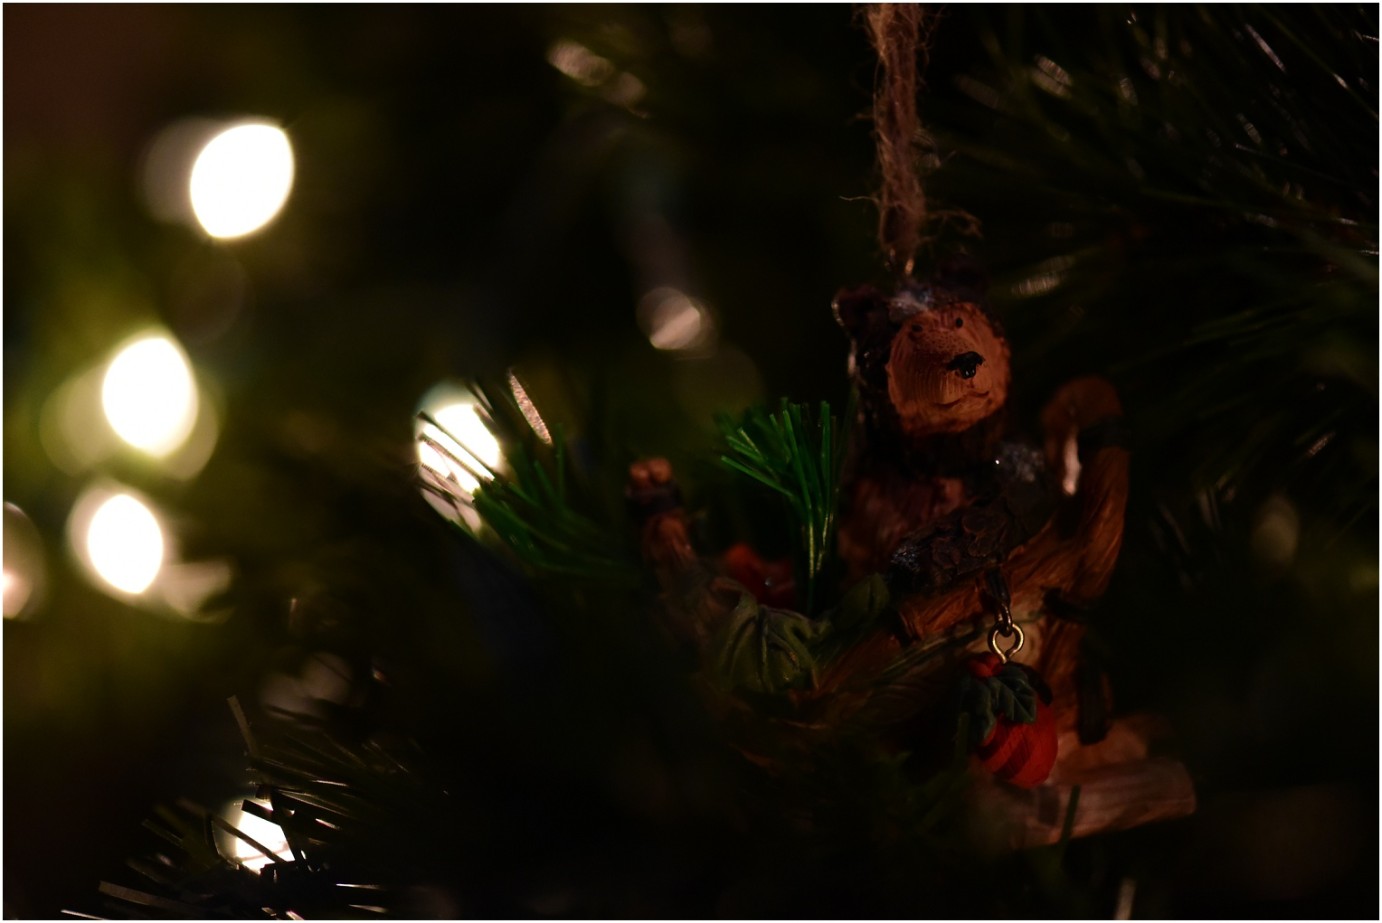
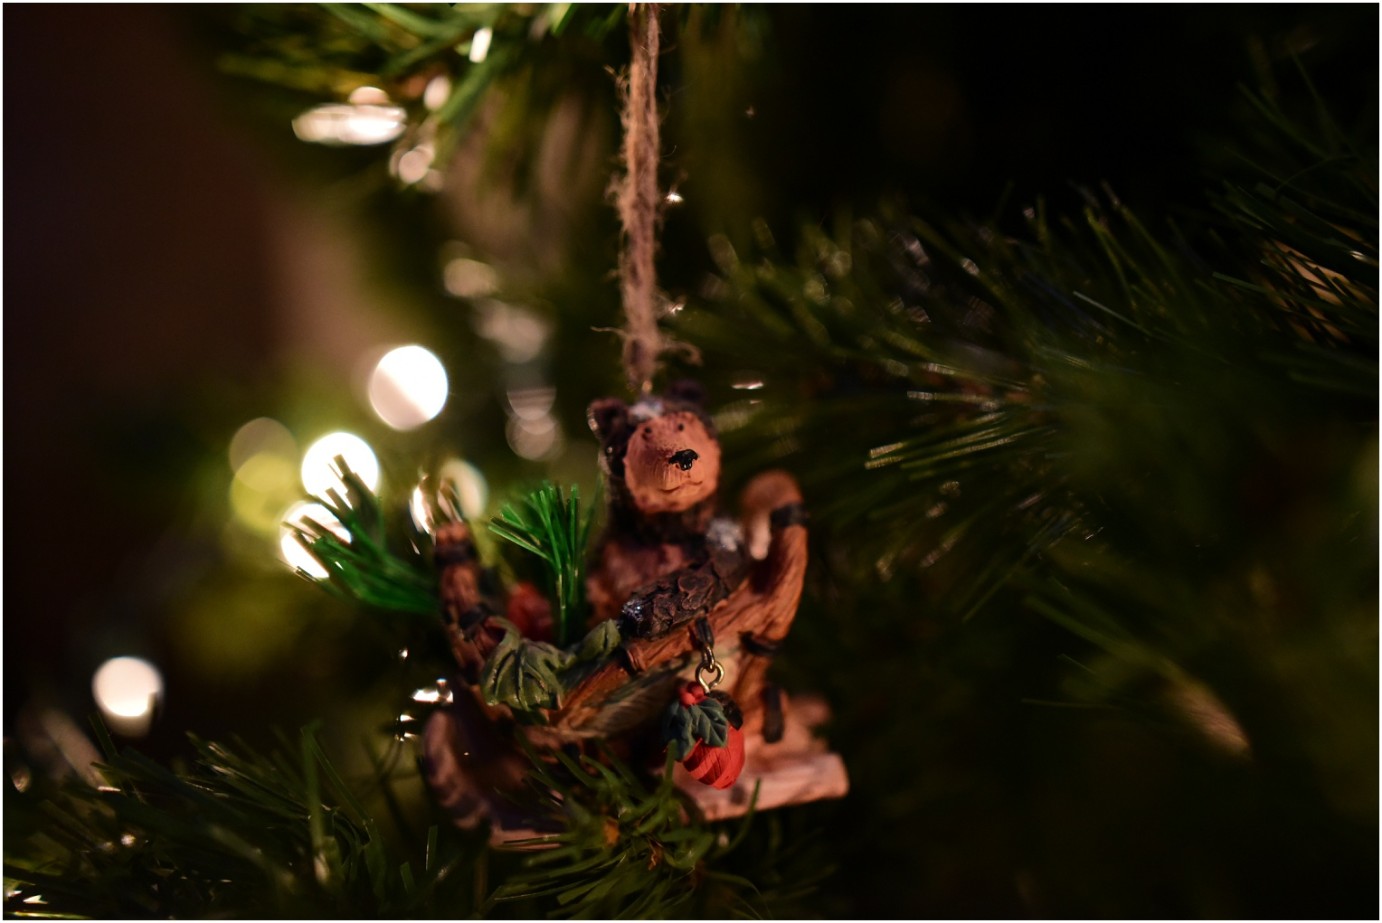 The last two images look kind of similar, and I did that on purpose. The first photo I used my 105 Macro lens. I love that thing. But most people don’t just HAVE a macro lens, so I used my 24mm lens (also something not everyone would have) in the second photo to show you that you can great shots up close with the right lens. If you have, say a 50, and you can’t get it to focus on something when you’re super close to it, that’s because it can’t. It’s not made to do that, and so you have to find the closest that it WILL focus, and take it there. Regardless, you can still get some fun shots close up of your cute ornaments. 🙂 The first image was ISO4000, f/3.2 1/125, and the second was ISO4000 f/1.4 1/250.
So hopefully that wasn’t too crazy of a tutorial and hopefully it made sense. If you were confused by the talk about ISO and shutter speed and aperture, you can check out my DSLR 101 post here, and it will make more sense!


+ COMMENTS
add a comment