

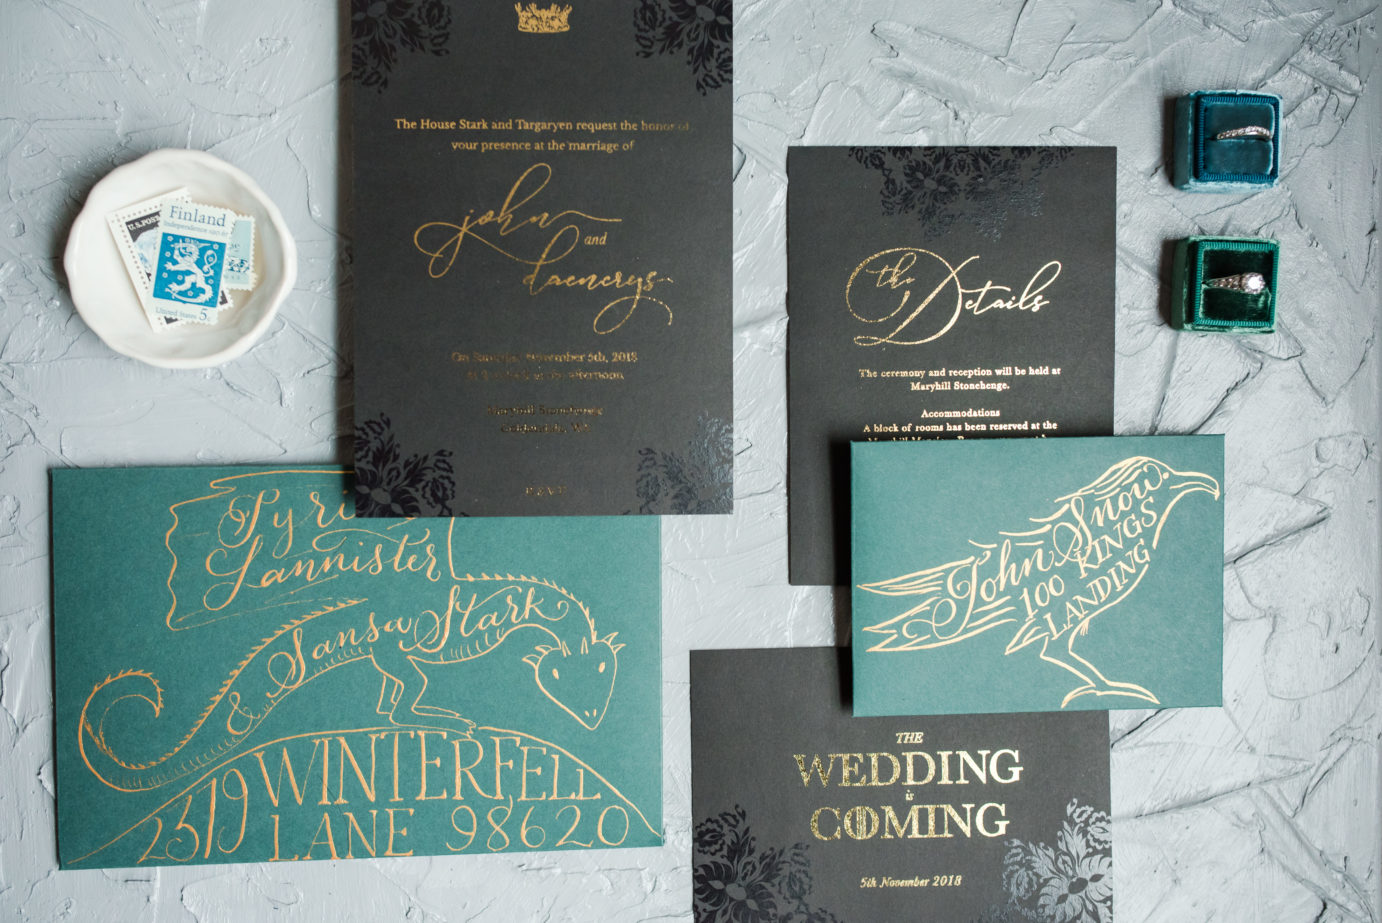
If you haven’t been around here much, then you wouldn’t know my love for all things wedding details. I LOVE shooting my bride’s details. It’s the first thing I get to do on a wedding day, and it really sets the stage for my creativity throughout the rest of the day. I always tell my brides it’s like my “warm-up” before actually starting to work with people instead of inanimate objects, and those shiny things just make me happy. One of the things that REALLY changed my game up in the details department was styling boards. I bought my favorites from Heirloom Bindery, but they did come with a hefty price tag. To me they’re absolutely worth it, but I found myself last year wishing for something more. I was using the same boards over and over, and even though the items I was photographing were different, to me, they all started to look the same. I researched and researched other options out there, but then heard from some fellow photographers how easy it was to make DIY textured styling boards. It only takes a few relatively cheap items and time and you have yourself some beautiful sturdy styling boards to take to any wedding!
DIY Textured Styling Boards
Items you’ll need
Canvases (I grabbed 16×24, but I wish I would have gotten a touch bigger- like 18×30)
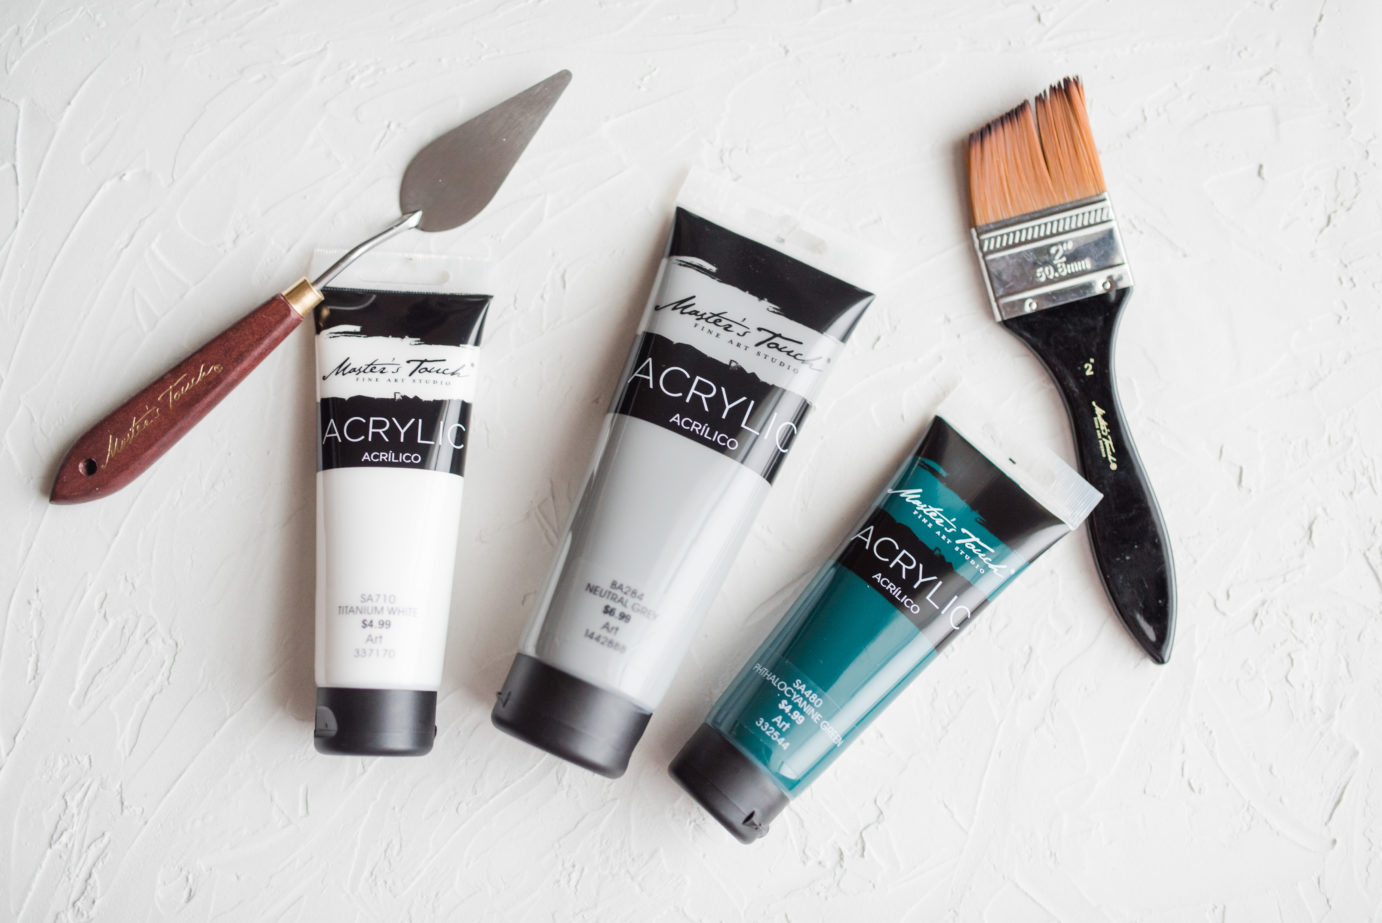
Plaster (any plaster will do- I found mine at Lowe’s)
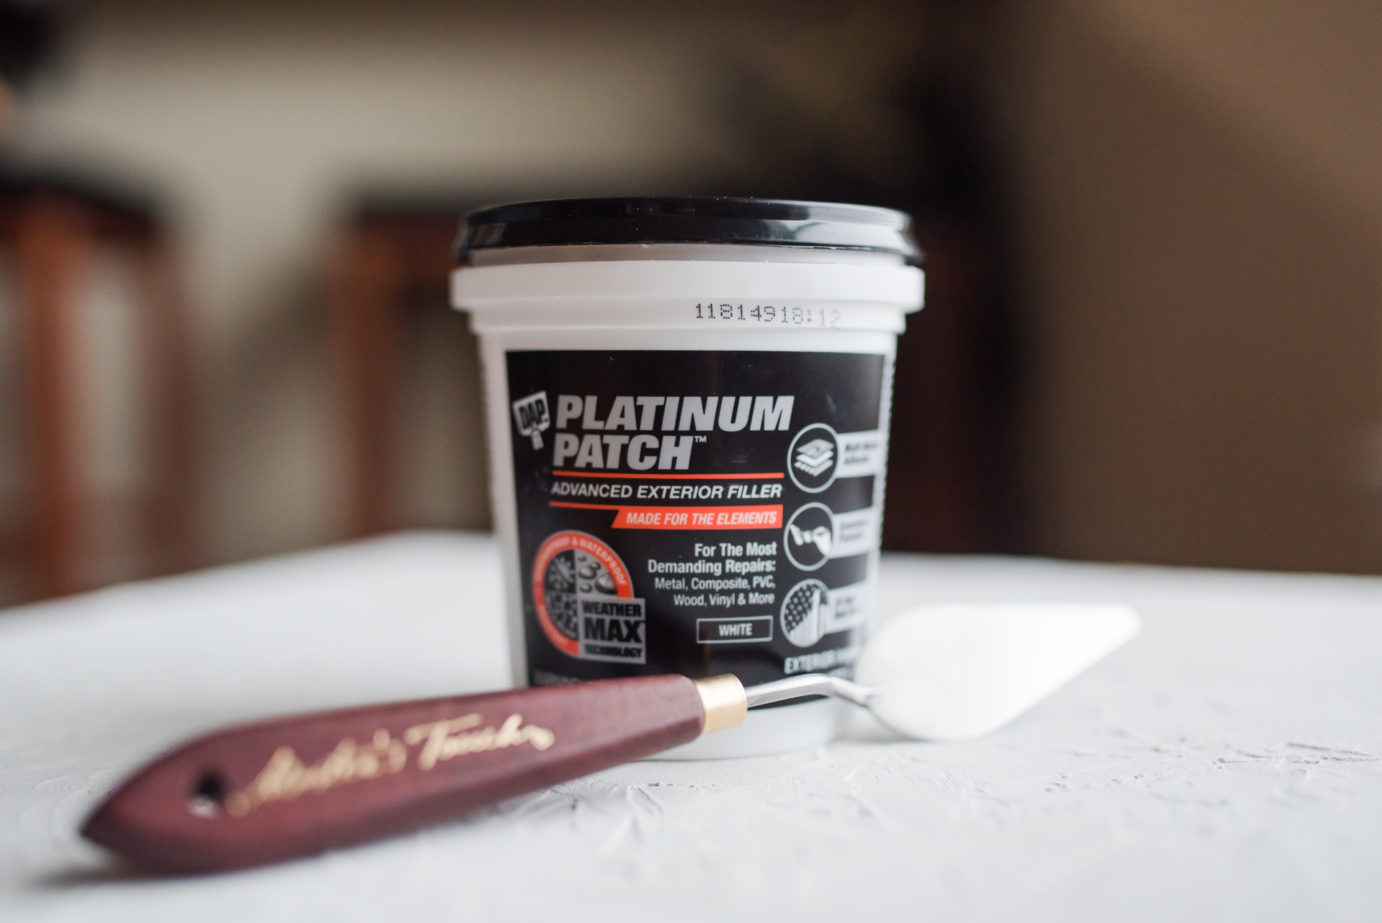
A plaster knife, or anything else you can use to layer the plaster onto your canvas- I used a paint knife
Paint (FYI- don’t get a shiny paint like I did. In hindsight, I wish I would have just left mine without paint and just put a matte finishing coat on it, but I don’t love the colors that I chose)
Time – ha! You’ll need some time to let things dry so don’t try to do this in a hurry.
Steps
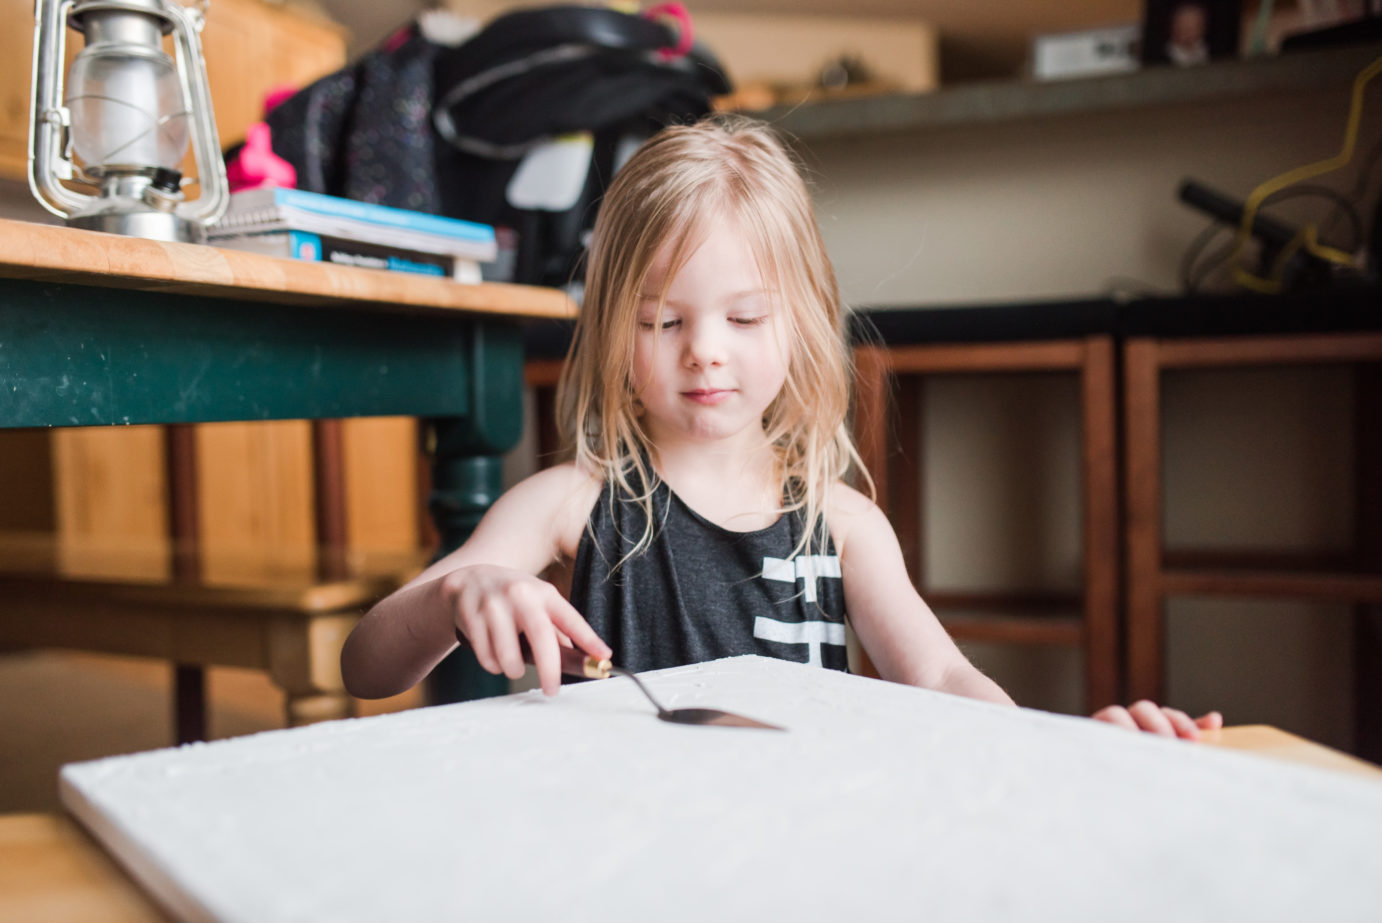
- Slather your plaster onto your canvas. I started by just putting some patches here and there, but didn’t like the way it looked. I think it’s best if you layer it completely over the canvas and then use the edge of your knife to add texture. The deeper the grooves, the more texture you are going to have in your finished product.
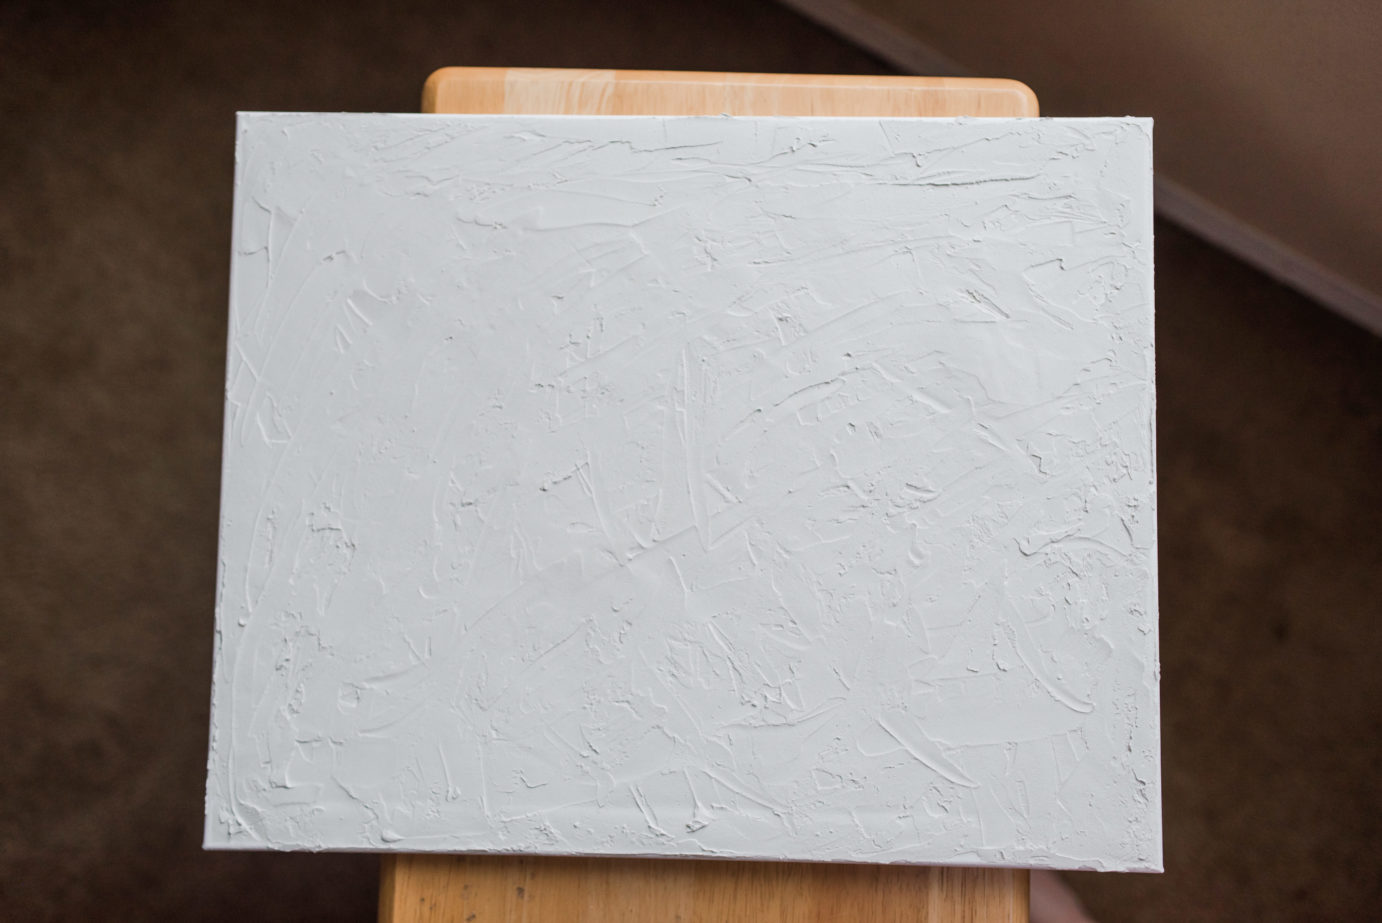
- Let the plaster dry completely. Most of the plasters I saw said they dried completely for painting in 24 hours.
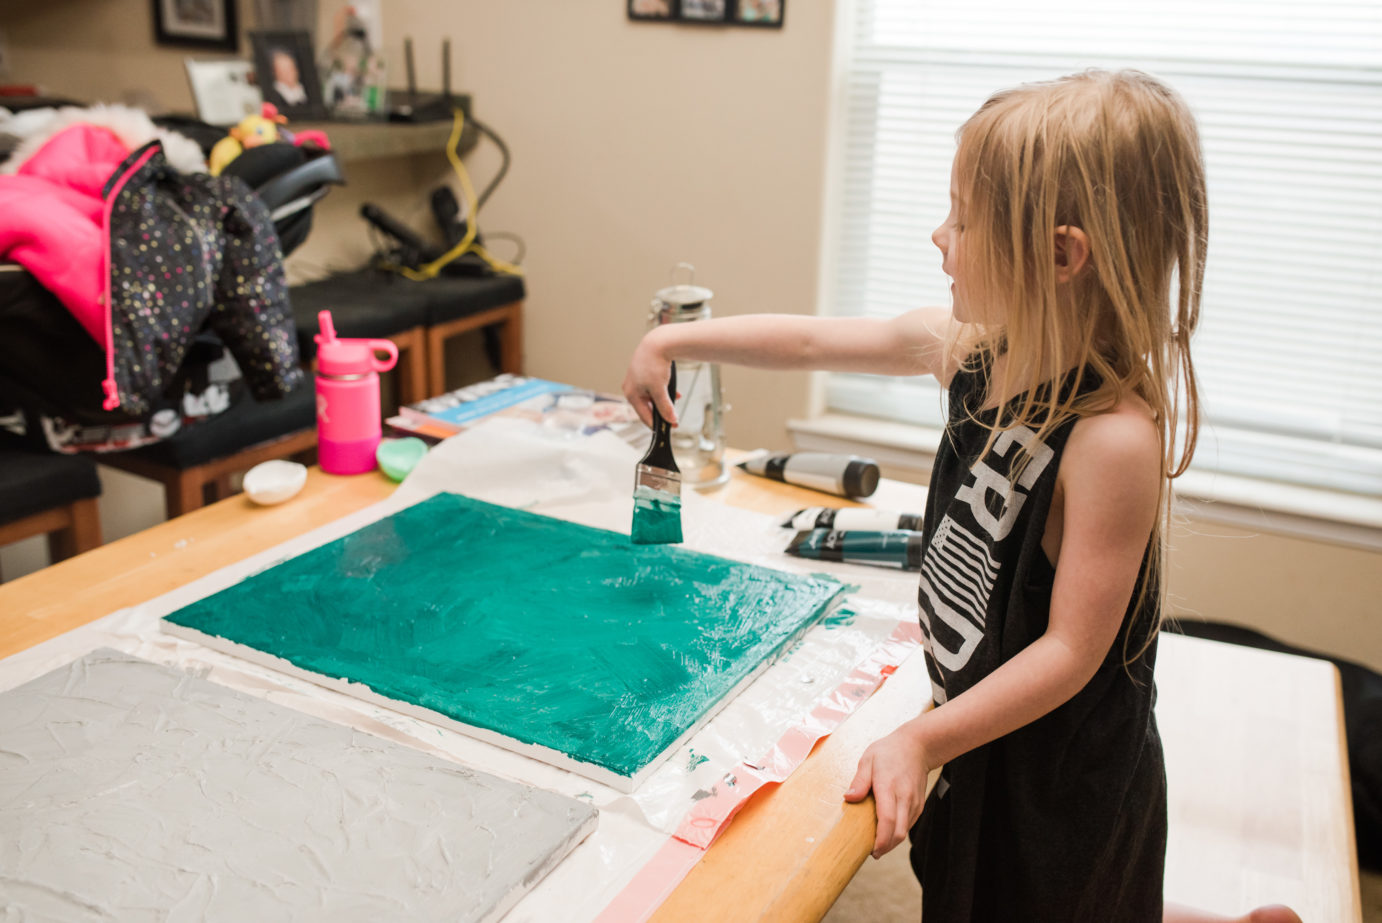
- Once the plaster is dry, paint to your hearts desire.
Easy, right!?!
TIPS
- Like I mentioned, it’s best if you get paint that is matte. I didn’t realize the paint I had gotten was glossy. Learn from my mistake. K, thanks.
- I made one board that had deeper grooves than the other, and I still don’t know If I love it. I think most of the part is that I don’t like the color.
- Paint in neutral colors. One of mine is a DAAAAARK green. I love it, but I probably won’t be able to use it for any wedding.
I kind of love how my first one looked without the paint on it, but thankfully, these are relatively cheap to make! What color would you paint yours?! Tell me in the comments!


+ COMMENTS
add a comment