DSLR 101
I have been wanting to start this series for sometime now- my Fotog Friday! I have had quite a few mom’s out there ask me how to get better pictures of their kids, or dogs, or families, and i thought it would be a perfect series for my blog! So, let’s get started.
So you or your husband bought you a fancy DSLR (Wait, a what!?) for Christmas or your birthday, or just because. Back in the days of film, it would be considered a SLR or Single Lens Reflex camera, but with the digital age, you just add ‘digitial’ in the front. Get it? Good. Now that’s out of the way.
So you have this DSLR, and you set it to auto, and you start taking pictures, right? WRONG! Let learn a little bit about your camera first.
My first piece of advice is to invest is a different lens other than your “kit” lens that came with your camera. They can take some good photos, but they are unable to get GREAT images like, say, a 35mm or 50mm f/1.8. I think i’m getting a head of myself though.

This picture may not make sense now, but hopefully by the end of this, it will kind of click for you! So what does all that mean!?
Exposure Triangle
The key to getting a great photo is nailing your exposure, but what is that? In photography, exposure is the amount of light that reaches the camera’s sensor (that’s the part through your lens, inside your camera). The WAY to get your perfect exposure is through three things, Shutter speed, aperture or f-stop, and ISO. We’ll break those down even more.
ISO
This is THE MOST IMPORTANT piece of the exposure triangle. Images can be RUINED if you don’t check this piece of information, FIRST! EVERY TIME! Hopefully my cap-locks gets that ingrained into your minds. This is what controls how sensitive the sensor is to light. It’s a scale the refers to the relative sensitivity of a sensor or film. It also impacts the quality of the image. The higher the ISO, the more digital noise you have in your image. Bump this up too much, and your photo looks like poo (for lack of a better term). Basically, the brighter it is in your scene, the lower your ISO is. If i’m shooting outside, on a sunny day, i’m at ISO100. If it’s overcast, depending on how dark it is, i’m anywhere from ISO320-ISO600. At a dark reception, i’ll boost my ISO up to 5000 in certain instances, but i know i’ll have to do some post processing noise reduction, but my camera also does AMAZINGLY well in those instances.
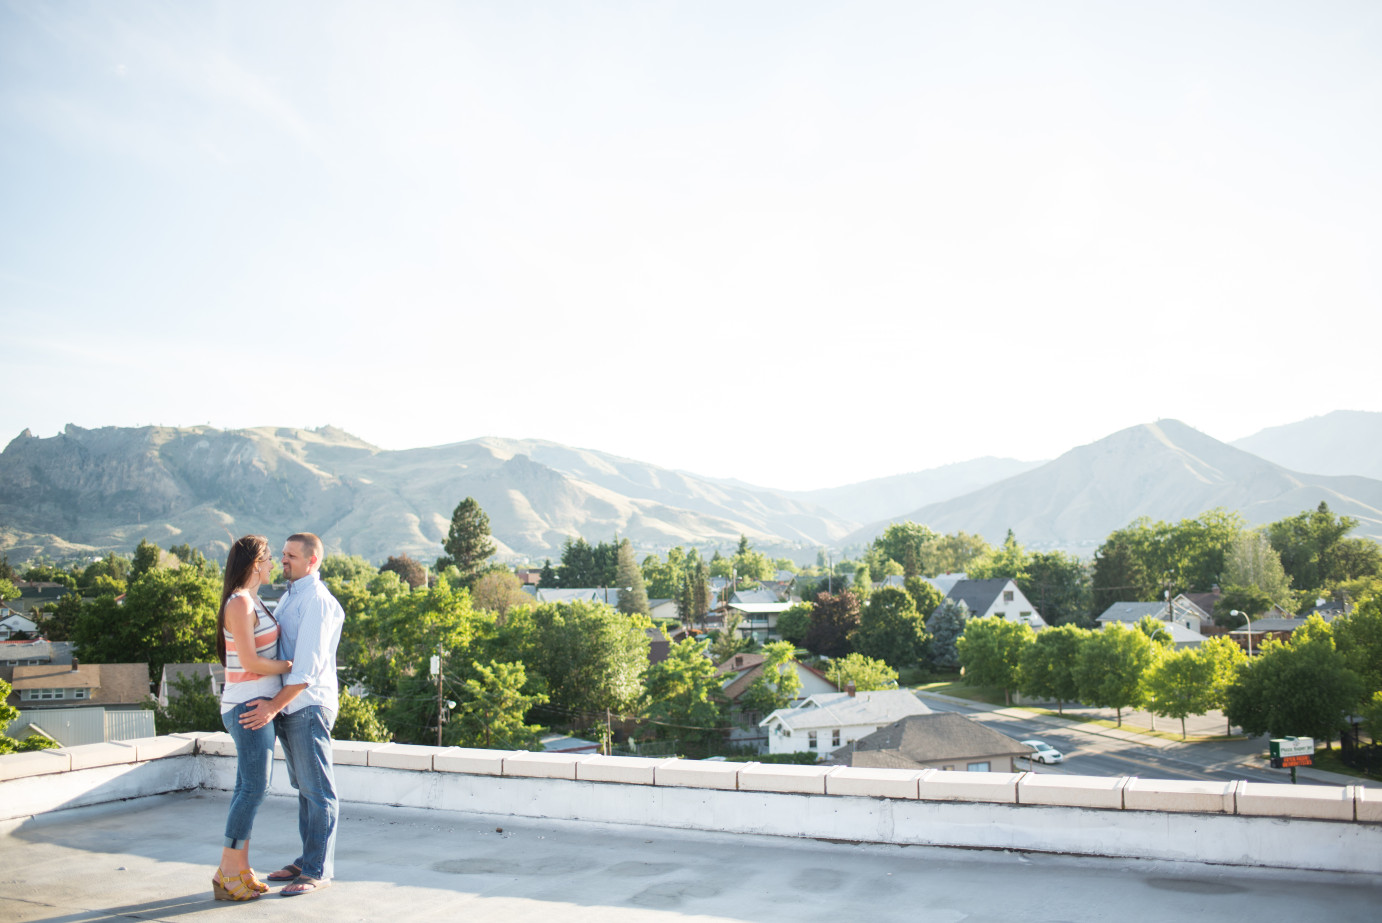
This image was on the rooftops of Wenatchee just as the sun was cresting over the mountains. It was super bright and there was white rooftop everywhere reflecting light back to my couple.
Nikon D610. 35mm. f/1.6. ISO125, 1/1000 shutter speed
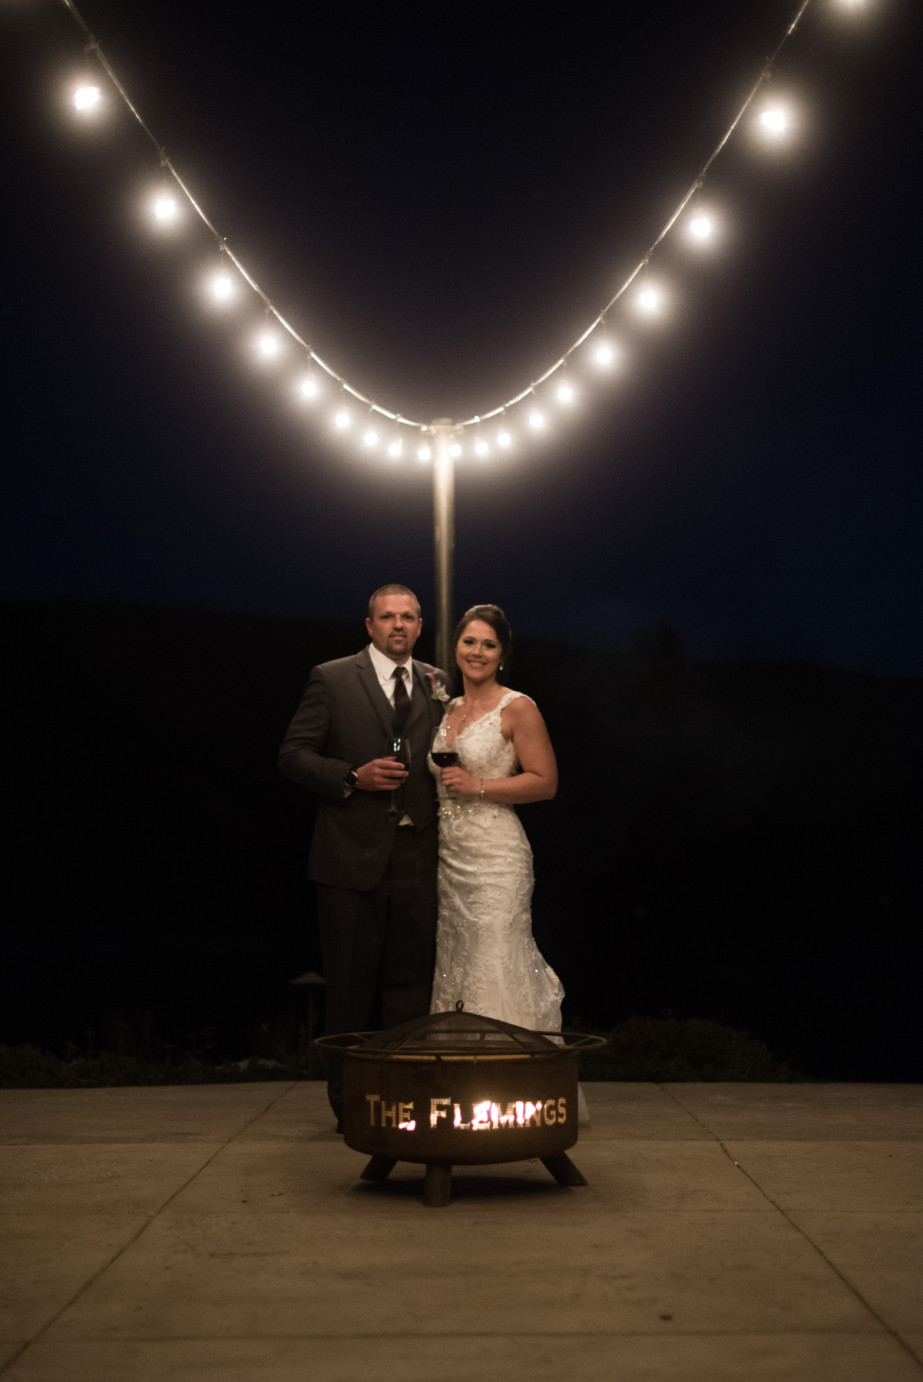
It was dang near pitch black at the end of the wedding night for these two, but we had to get a shot of the AWESOME fire pit the groomsmen made for this groom!
Nikon D750. 50 mm. f/1.4. ISO2000. 1/100 shutter speed.
You can see from the two images that the top one is crisp and clear, where the second one has a bit more digital noise because of the higher ISO. Still usable, but not as crisp.
Shutter Speed
Shutter speed is the length of time when the film or digital sensor is exposed to light. There are two “curtains” inside your camera. When you push the shutter button, one falls revealing the sensor, and after the time the shutter speed is supposed to last, the second curtain falls, hiding the sensor from light. It’s measured in seconds and fractions of seconds, generally starting at 1/8000 or 1/4000 of a second all the way up to 30 seconds. When thinking shutter speed, you have to take into consideration the speed of your subject. If you’re shooting a fast-moving toddler, it needs to be a fast shutter speed or you get motion blur. A tip to prevent camera shake FROM YOU is that whatever the length of your lens (35, 50, 85) don’t go lower with your shutter speed than 1/that number. If you have a 50mm lens, don’t go less than 1/50, etc. Keep in mind though, a faster subject will need a faster shutter speed than that.
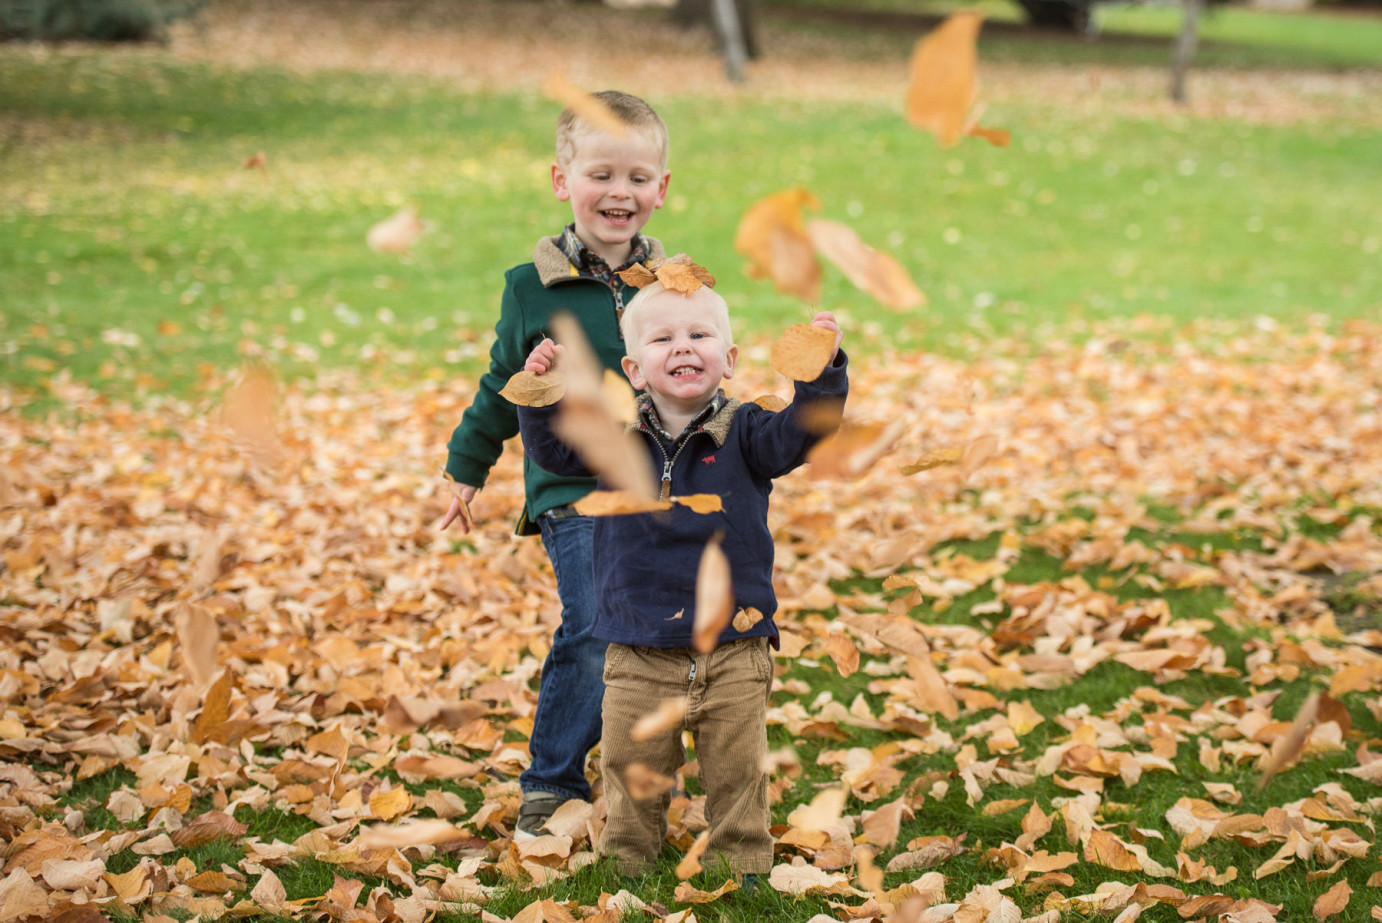 These boys were pretty quick, so I knew I need a faster shutter speed, and I wanted to freeze the leaves they were throwing in the air.
Nikon D750. 70 mm. f/2.8. ISO500. 1/500 shutter speed.
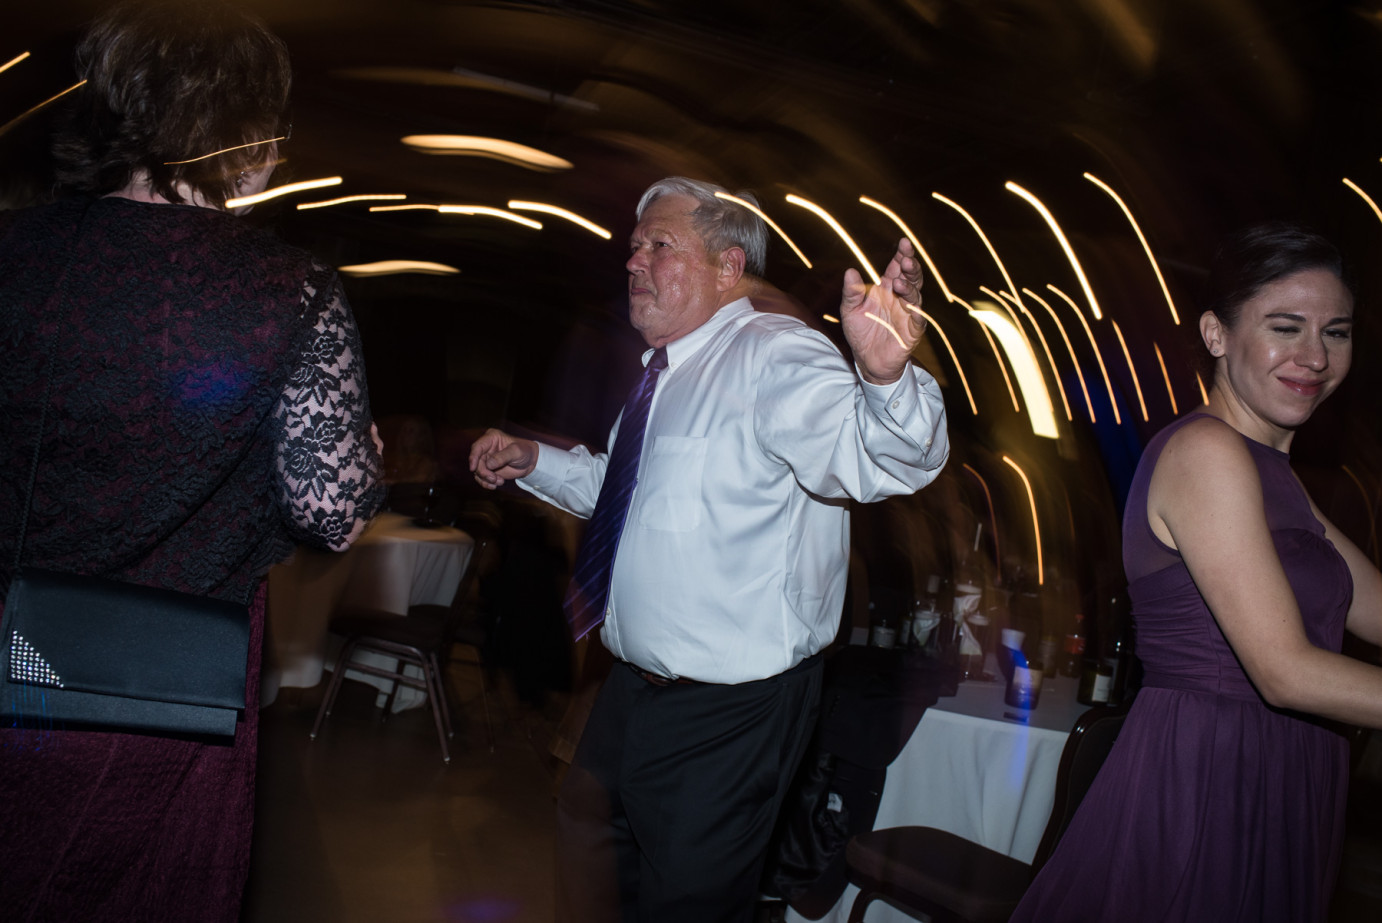 Sometime, you can use a slow shutter speed for some cool effects though, like shutter drag.
Nikon D750. 35 mm. f/6.3. ISO400. 1/8 shutter speed.
Aperture
Aperture, or the F-stop (one could look like this f/2.0), is my FAVORITE part of the exposure triangle. This is the part that gets to be more fun. The aperture is the opening inside the lens. It also effects the quantity of light that enters the camera. It controls your depth of field (more on this later) and can give you those images that you go “WOW!” to. Think of your aperture like your pupil of your eye. This is the part that is kind of tricky though. When it is SUPER bright outside, your pupil is very small. In camera talk, this would be a closed down aperture(f/22-f/16), and there would be a very small opening that would let light in. If it’s dark, your pupils are large. In camera talk, this is wide open (generallly f/1.2-2.8), and let’s in a lot of light. So what does that do for you?
Depth of Field
Depth of field is controlled by your Aperture. The fancy definition is: the distance between the nearest and farthest objects in a scene that appear acceptably sharp in an image. If you shoot an image wide open (depending on your lens, this could be anywhere from f/1.2 or f/3.5) you will have a small depth of field. This gives you those images with a creamy, buttery, delicious background also known as bokeh. 🙂
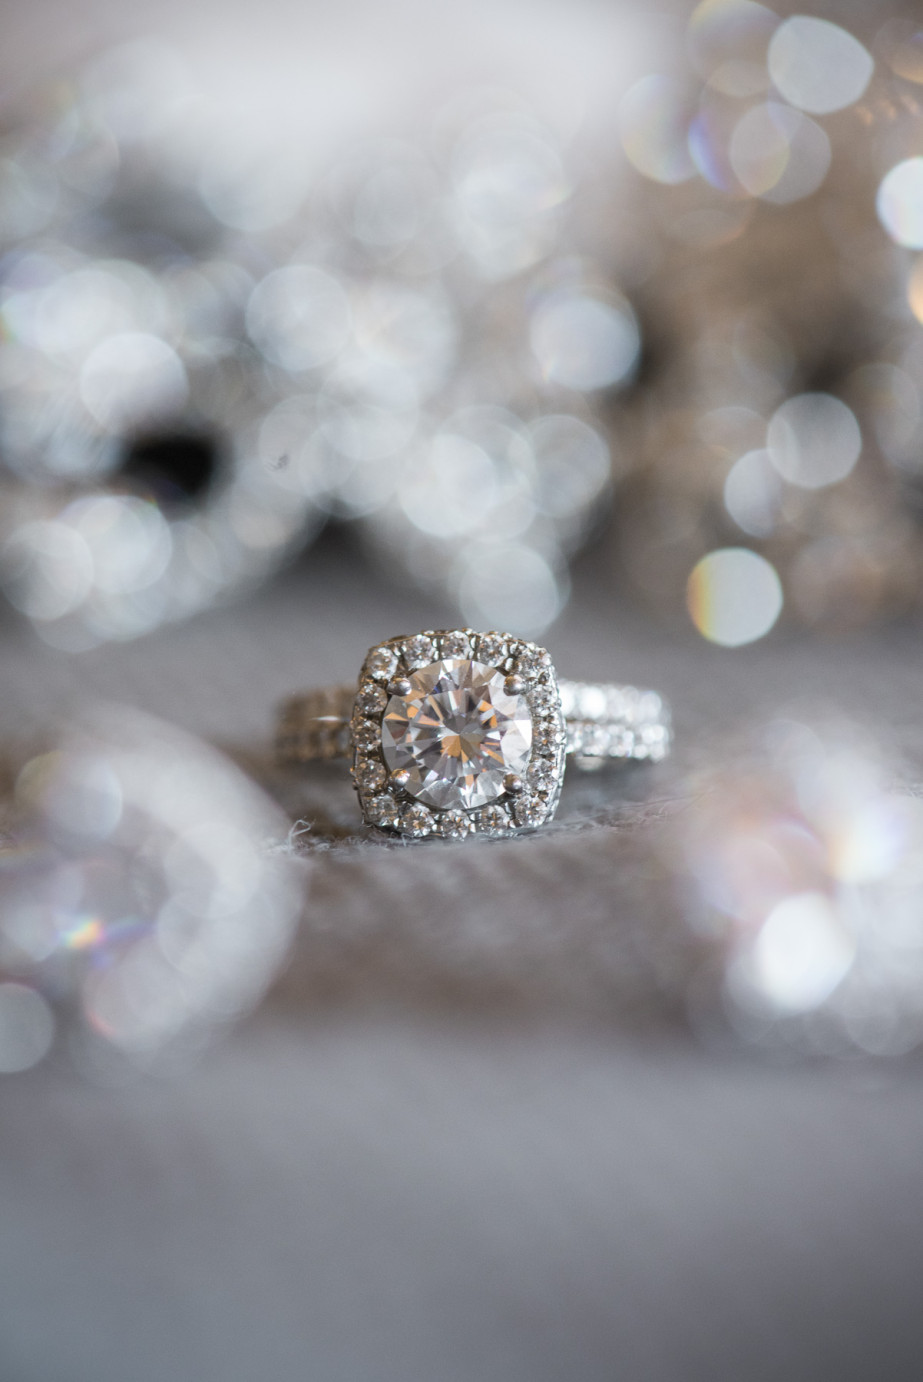 This isn’t the best example. In normal instances, shooting with a closed down aperture would make more things in focus, BUT when you use a macro lens that all changes. Your depth of field is SO SHALLOW that you have to use a wider f-stop or you won’t have the whole diamond in focus. BUT in general, a wide aperture will give you bokeh like this.
Nikon D750. 105 mm Macro. f/8. ISO2000. 1/80 shutter speed.
Here’s a better example.
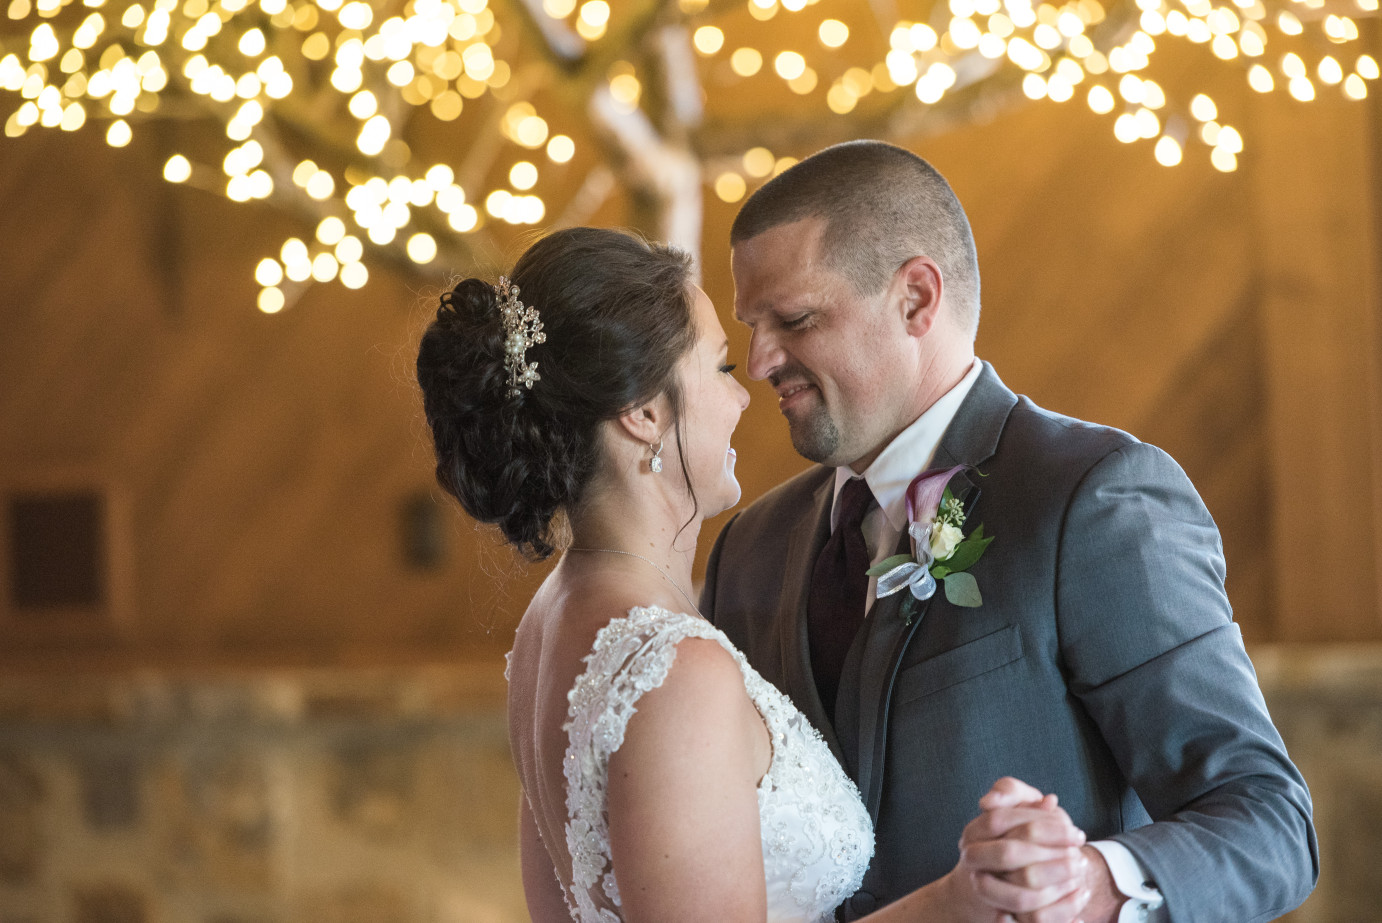
Nikon D750. 165 mm. f/2.8. ISO2500. 1/200 shutter speed.
Bokeh
Fancy talk again: bokeh is the aesthetic quality of the blur produced in the out-of-focus parts of an image produced by a lens. The better quality lens you have, the better your bokeh looks. We can go into this more on another blog post. We’ll just stop here for now, but this is what helps pop your subject out from the background.
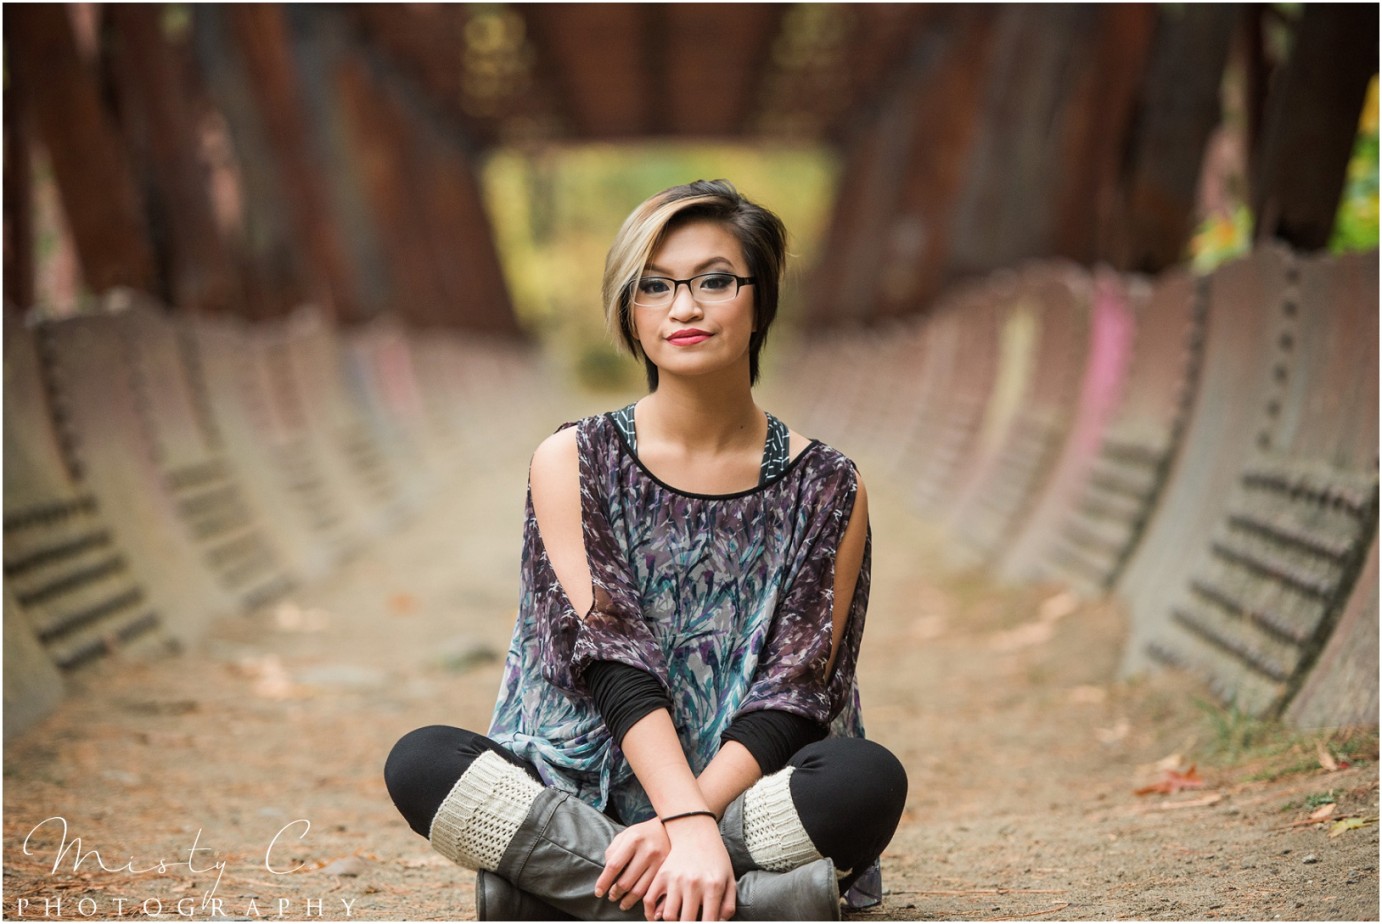
Nikon D750. 150 mm. f/2.8. ISO800. 1/125 shutter speed.
Putting It All Together
So how do you make it all work together. DSLR’s come with an amazing metering system. It looks like this:
 This helps you get the best exposure for your images, but sometimes it doesn’t know everything. This is where practice comes in handy! You want to make sure your exposure meter is centered when you take your images! That means adjusting your ISO to the light you have, and then adjusting your shutter speed and aperture for the look you are going for, or the effect you want. If you have a scene with lots of dark areas, or lots of bright areas, sometimes your camera gets tricked though, and this is where shooting in Manual mode comes in handy. Then you can tell the camera that you need to let in more light, or less depending on the scenario. Some other great options for just starting out is to shoot in AV/A (depending if you shoot Canon or Nikon) or aperture priority. This lets you choose the aperture you want to use, like if you want creamy background you shoot f/1.8, and the camera takes care of the rest! There’s also Shutter priority! You can set your camera to make sure you get your subject clear, without motion blur, and it does the rest.
I loved shooting aperture priority when I first started out. It was a nice way to have to think of ALL the settings at once when I was just getting used to shooting. BUT WOW!!! Did you get all that?!
If I have one main tip from this it’s this…
PLEEEEEAAAASE! For the love of your camera, expand your horizons beyond Auto mode.
Sure, your camera can do a lot of things, but i had a teacher in 5th grade that would talk about calculators and say “it’s only as smart as the person using it,” and i think of that every time i see someone using a camera on auto. This isn’t meant to be offensive, but once you learn more about your camera, you can do some AMAZING things with it!
Just try it out! Don’t be afraid to step out of the auto mode, and you’ll be amazed at what you can create!
Do you have any specific questions about the blog today? Or about how to use your camera!? Comment on this post, and i’ll make sure to answer them!
+ COMMENTS
add a comment